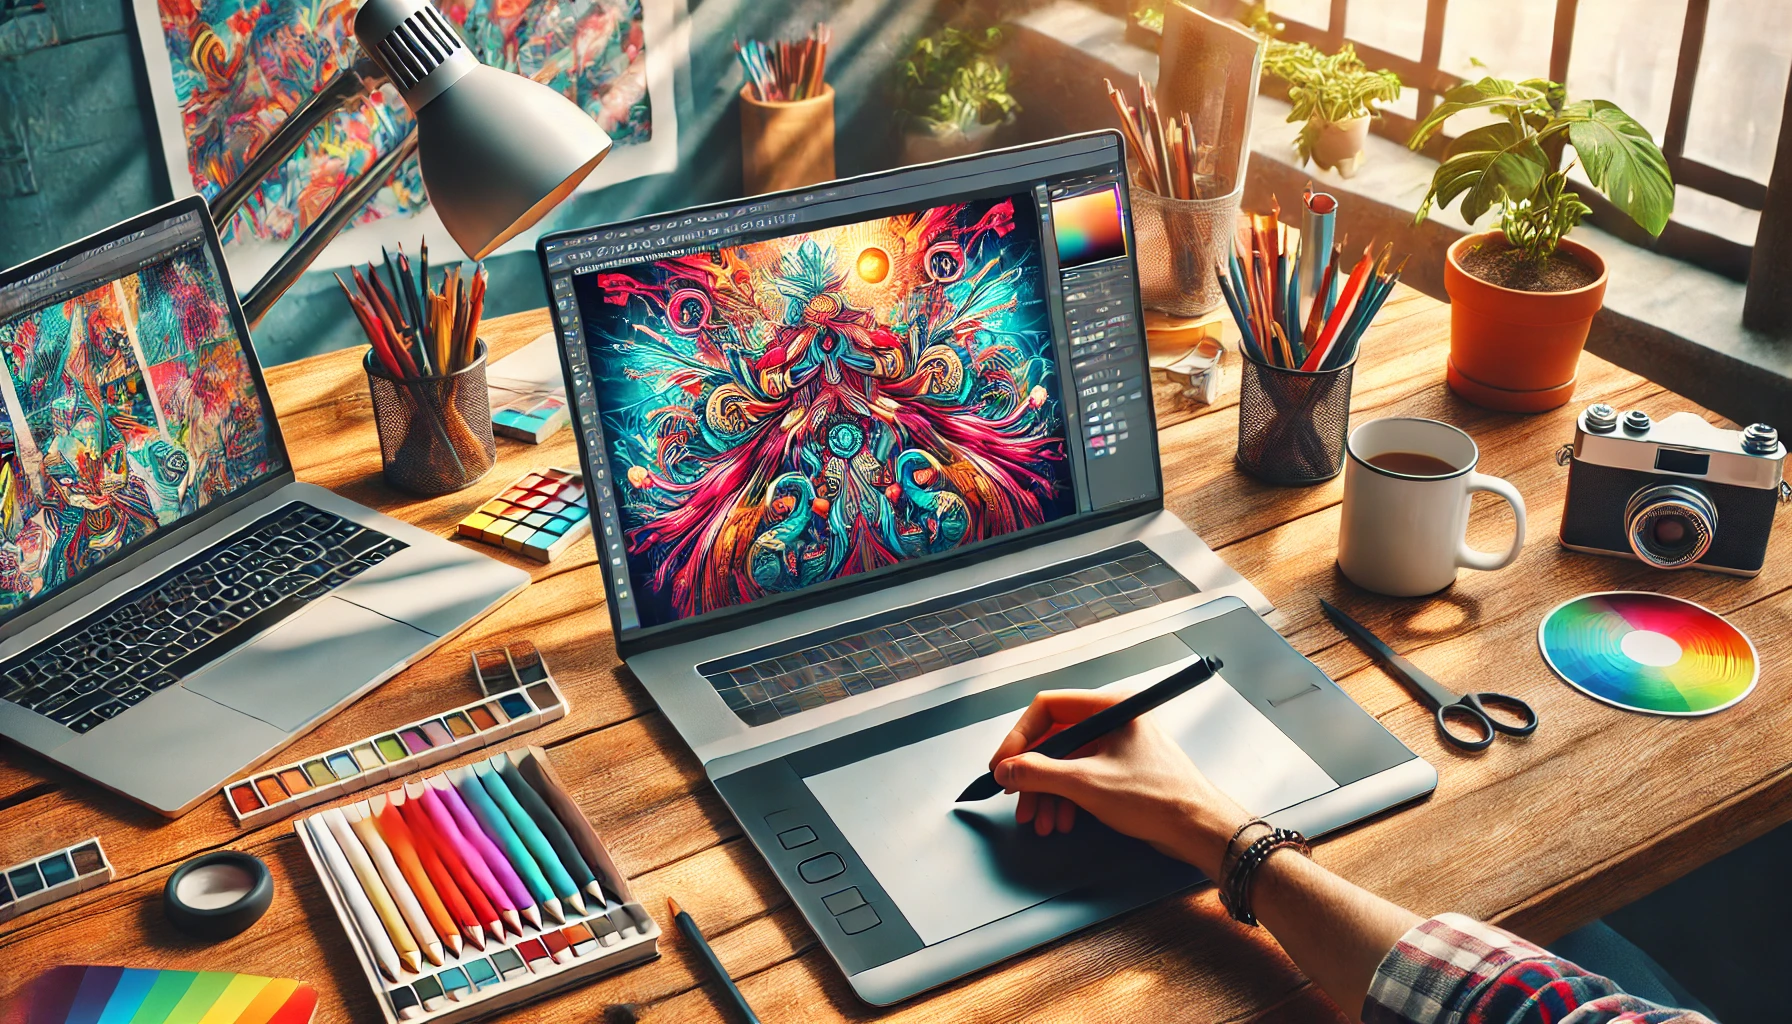
Digital illustration is an art form that blends creativity with technology. It’s an essential skill for graphic designers, illustrators, and enthusiasts who want to explore new ways of expression. If you’re just starting out, creating your first digital illustration might seem challenging, but with the right tools and techniques, the process can be fun and rewarding.
In this article, I’ll provide a practical guide to creating your first digital illustration, from selecting the tools to adding the finishing touches.
1. Choose the Right Tools
Graphic Tablets
A graphic tablet makes the illustration process easier, offering precision and smoothness.
Popular models include:
- Wacom Intuos
- XP-Pen Deco
- Huion Kamvas
💡 Tip: If you don’t have a tablet, you can use a mouse or even the touchscreen of a regular tablet.
Illustration Software
Choose software that fits your skill level and preferences.
- Procreate: Exclusive to iPad, great for beginners and professionals.
- Adobe Photoshop: Versatile and widely used for detailed illustrations.
- Krita: Free and ideal for beginners.
- Clip Studio Paint: Excellent for illustrations and comics.
💡 Getting Started Tip: Download a free or trial version of the software you’d like to explore.
2. Plan Your Illustration
Before you start drawing, plan your idea:
- Pick a theme: Characters, landscapes, objects, or something abstract.
- Research references: Use Pinterest, Behance, or Google to gather inspiration.
- Sketch on paper (optional): This helps you visualize your idea before digitizing it.
💡 Example: If you’re drawing a character, look up poses and styles you want to incorporate.
3. Set Up Your Canvas
When you open your software, set up a suitable file:
- Dimensions: For general digital illustrations, use 1920 x 1080 pixels or higher.
- Resolution: Keep it at 300 DPI for high quality.
- Layers: Work with separate layers for different parts of the drawing.
💡 Tip: Name your layers to keep the project organized.
4. Start with a Sketch
Use the brush tool to create an initial sketch:
- Brush Settings: Choose a simple brush with adjustable opacity.
- Smooth Lines: Don’t worry about perfection at this stage; it’s just a guide.
- Adjustments: Use the transform tool to reposition or resize parts of your sketch.
💡 Tip: Use a separate layer for the sketch and lower its opacity to draw over it.
5. Trace the Outline
Once you finalize the sketch, create a cleaner outline:
- Use a fine-line brush.
- Work on a separate layer for the final line art.
- Adjust the line thickness to create variations and add more dynamics to the drawing.
💡 Example: Use thicker lines for outer areas and thinner lines for internal details.
6. Add Colors
Base Layer:
Paint the main areas with solid colors.
Shadows and Highlights:
Create separate layers to add depth and realism.
Useful Tools: Use the lasso or magic wand tool to select specific areas.
💡 Tip: Experiment with blending modes (Multiply for shadows, Overlay for highlights).
7. Work on the Details
Details make all the difference:
- Add textures with custom brushes.
- Include small elements like sparkles, fur, or scratches.
- Adjust the opacity of layers to create soft effects.
💡 Tip: Spend extra time on the eyes or focal points of the drawing to enhance impact.
8. Finalize with Effects
- Gradients: Use gradients for smooth color transitions.
- Blur: Add slight blurs to create depth.
- Filters: Try filters to add a final touch to your drawing.
💡 Example: A soft glow around the character can give it a magical effect.
9. Save and Export Your Illustration
File Format:
Save the original file in the software’s format (e.g., PSD for Photoshop, Procreate for Procreate).
Export:
Export a final version in PNG or JPEG for sharing.
Sizes:
Create versions in different sizes for social media or print.
💡 Tip: Always save a copy with editable layers for future adjustments.
10. Share and Ask for Feedback
Sharing your work with others helps you improve your skills:
- Online Communities: Share on Behance, Instagram, or ArtStation.
- Learning Groups: Join Facebook or Discord groups to receive tips from other illustrators.
💡 Tip: Be open to constructive criticism; it helps you grow.
Common Mistakes (and How to Avoid Them)
Not Using Separate Layers:
It makes it difficult to adjust individual elements.
💡 Solution: Create layers for each step (sketch, color, details).
Ignoring Resolution:
A low resolution can compromise the quality of your illustration.
💡 Solution: Always work at 300 DPI.
Too Many Details:
Excessive details can overwhelm the drawing and distract from the main focus.
💡 Solution: Prioritize areas that deserve more attention.
Free Tools for Digital Illustration
- Krita: A powerful, free software for illustration and animation.
- Medibang Paint: Focused on comics and illustrations.
- Autodesk SketchBook: A clean interface with a variety of brushes.
Conclusion: Create Your First Digital Masterpiece!
With dedication and practice, you can turn ideas into stunning digital illustrations. Follow the steps outlined in this article and experiment with different styles, tools, and techniques to develop your unique artistic identity.

