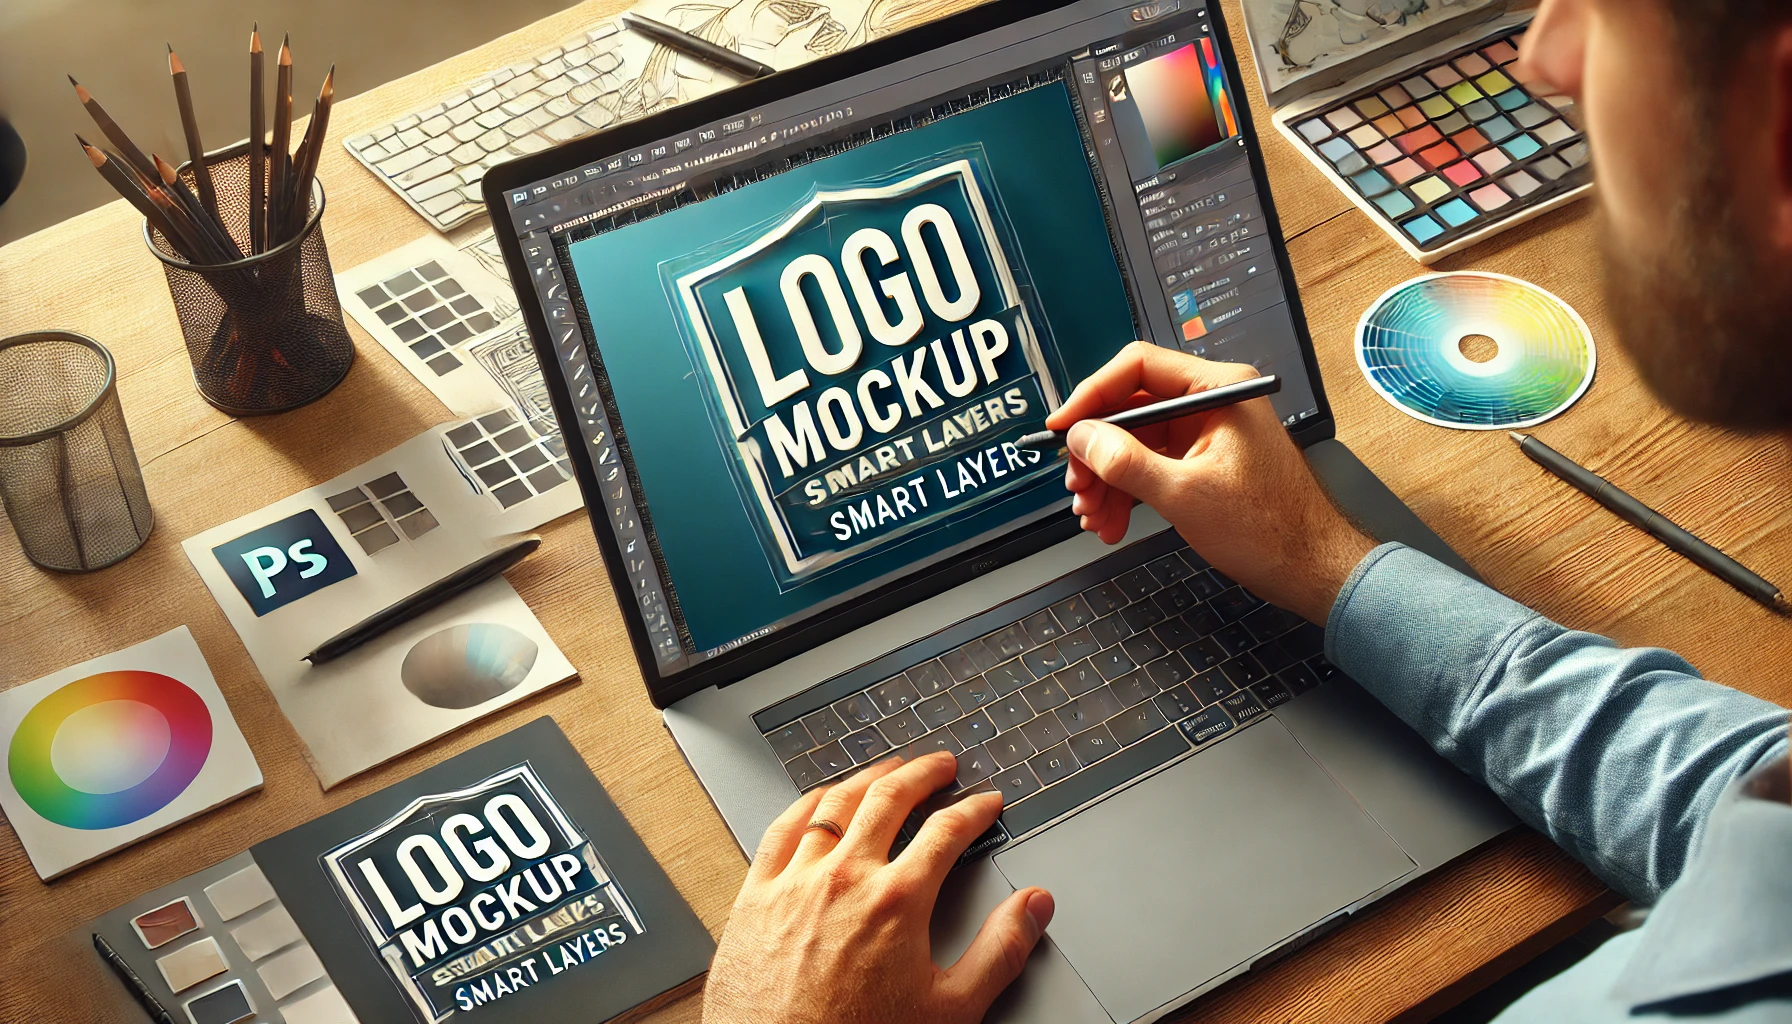
A mockup is a visual representation that simulates how a project will appear in the real world. They are essential for designers who want to present their work professionally, impress clients, and highlight the value of their creations. Additionally, mockups help convey the complete idea of a project, whether it’s a logo, packaging, or digital design.
In this article, you will learn how to create professional mockups, the ideal tools for doing so, and practical tips for showcasing your projects.
What is a Mockup?
A mockup is a digital or physical model used to show how a design will be applied in real-life contexts. They help visualize the final product and demonstrate how the design interacts with different surfaces or devices.
Examples of Mockup Use:
- Logos: Applied to business cards, stationery, or products.
- Web Designs: Simulated on computer or smartphone screens.
- Packaging: Displayed on real products, like boxes and labels.
💡 Example: Presenting a logo on a store facade mockup can have a bigger impact than just showing it on a white background.
Why Use Mockups?
- Professional Presentation: Enhances the client’s perception of the project.
- Design Value: Shows how the concept translates to the real world.
- Clearer Feedback: Helps clients and teams visualize the final product.
- Attractive Portfolio: Makes your work more impactful and memorable.
Tools for Creating Mockups
1. Adobe Photoshop
Photoshop is the most popular tool for creating mockups due to its versatility and support for editable PSD files.
Key Features:
- Use smart layers to quickly replace designs.
- Realistic effects such as shadows, reflections, and textures.
- Wide variety of ready-made mockups available online.
💡 Tip: Search for PSD files on sites like Freepik or GraphicBurger.
2. Canva
While limited compared to Photoshop, Canva offers basic mockups for beginners.
Key Features:
- Ready-made templates for business cards, t-shirts, and devices.
- Simple and intuitive interface.
- Integration with free image libraries.
3. Figma
Ideal for UX/UI designers who need to present website and app prototypes.
Key Features:
- Interactive prototyping tools.
- Plugins like Mockuuups Studio to add designs to devices.
4. Placeit
An online tool specialized in mockups. Perfect for those looking for speed and ease of use.
Key Features:
- Library of thousands of models, from t-shirts to device screens.
- Direct customization in the browser, no software needed.
- Support for video mockups, ideal for social media.
Access Placeit here.
5. Smartmockups
Another online tool focused on simplicity and variety.
Key Features:
- Mockups for devices, clothing, packaging, and more.
- Direct upload from Canva for integration.
- High-resolution export.
Access Smartmockups here.
Step-by-Step Guide to Creating Professional Mockups
1. Choose the Right Mockup
Select a mockup that is relevant to your project.
Example: For a logo, use a mockup of stationery or a store facade.
Make sure the model has high visual quality and professionalism.
2. Prepare the Design
Finalize the design that will be applied to the mockup (logo, layout, etc.).
Use high-resolution formats such as PNG or SVG to ensure quality.
3. Replace the Design in the Mockup
In Photoshop, use smart layers (Smart Objects):
- Open the PSD file.
- Double-click the smart layer.
- Paste the design and save it.
In online tools like Placeit, simply upload the design.
4. Adjust the Details
Check the positioning of the design in the mockup.
Adjust colors, shadows, and reflections to make it more realistic.
Add a suitable background if needed.
5. Export the Mockup
Save the mockup in high resolution, preferably in PNG or JPEG format.
Ensure it is optimized for the presentation medium (digital, print, or social media).
Tips for Creating Impactful Mockups
- Choose High-Quality Models: A poorly made mockup can devalue your design.
- Always Customize: Adjust colors and textures to match the project.
- Maintain Visual Consistency: Use mockups that align with the design’s style.
- Avoid Overdoing It: Don’t let the mockup overshadow the main design.
Common Mistakes When Using Mockups
- Choosing Generic Mockups: Use models that genuinely enhance the project.
- Low Resolution: Low-quality mockups can ruin the presentation.
- Lack of Realism: Adjust shadows and reflections to create an authentic look.
- Text Cut Off or Poorly Positioned: Always check the placement before finalizing.
Why Mockups Make a Difference in Design
Mockups transform two-dimensional designs into three-dimensional experiences, helping to communicate your vision clearly and attractively. They showcase the real potential of the project, impressing clients and raising the standard of your work.
Ready to Create Amazing Mockups?
With the tools and tips provided in this article, you can start creating mockups that impress and highlight your talent as a designer. Practice, experiment with different styles, and see how your presentations evolve.

