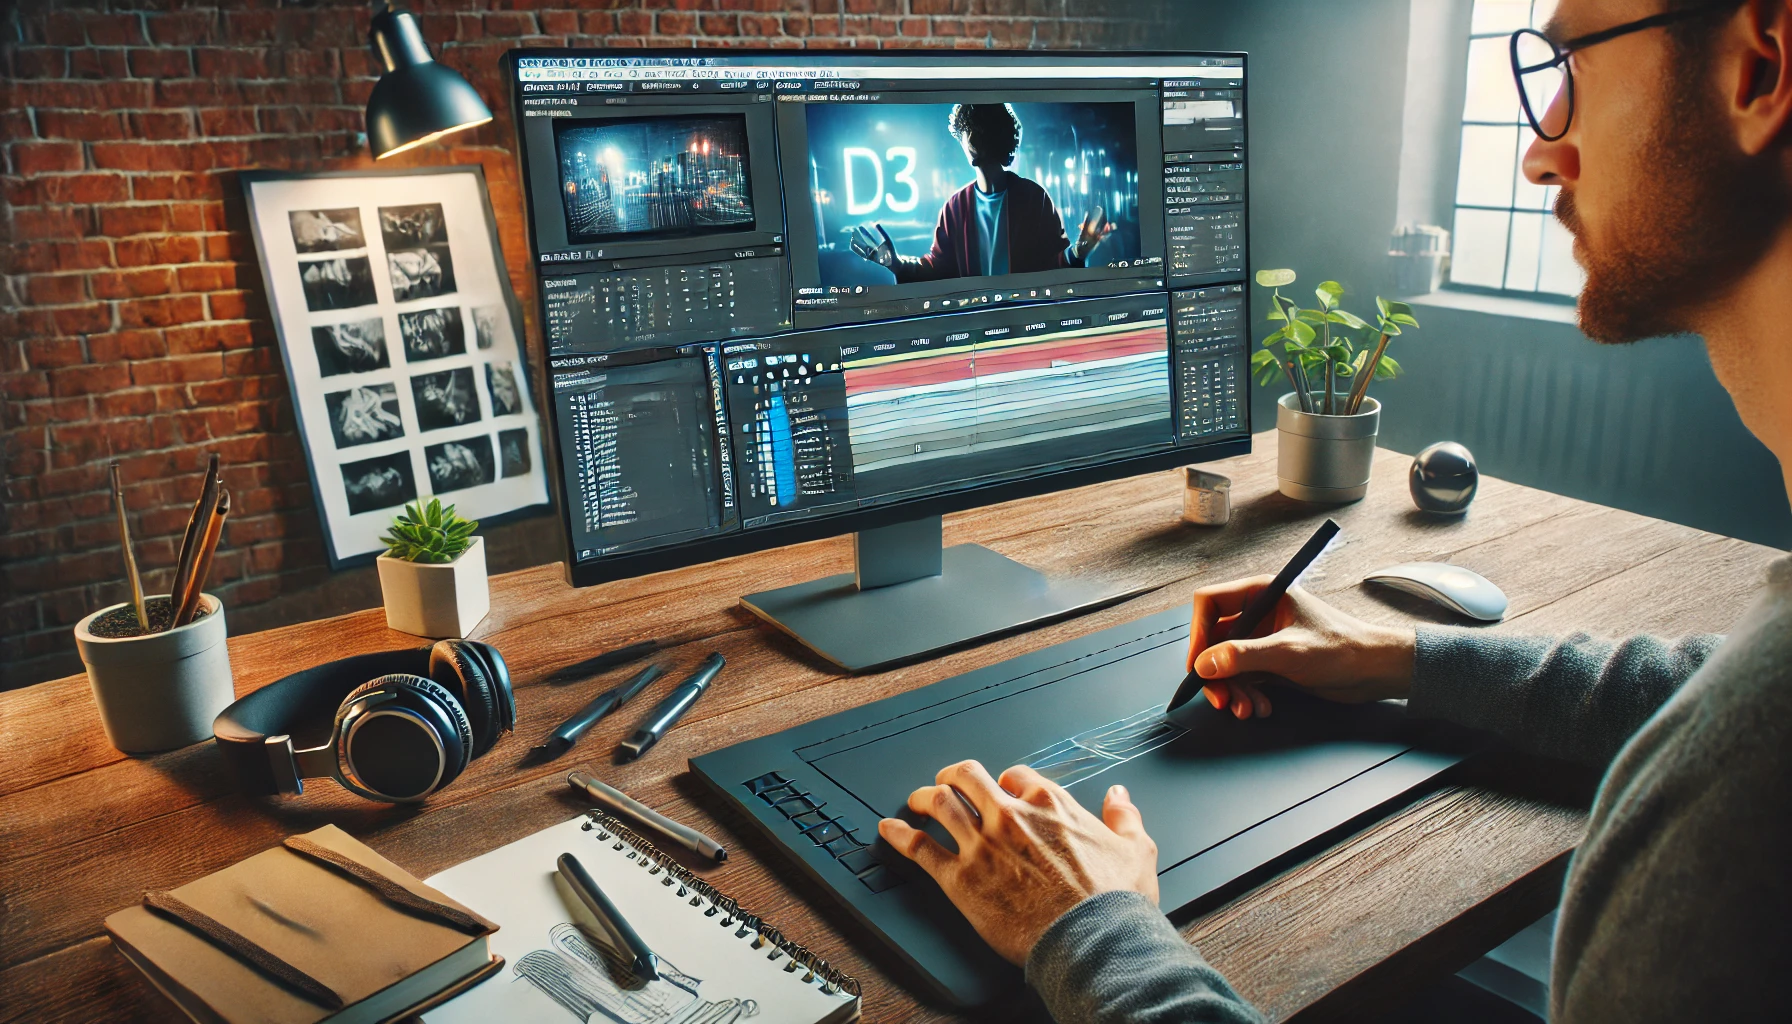
Adobe After Effects is one of the most powerful tools for creating animations and visual effects. If you’re just getting started, learning the fundamentals might seem challenging, but with a few simple steps, you can create basic animations and explore the full potential of the tool.
In this article, you’ll learn how to create basic animations in After Effects, from project setup to export.
1. Understand the After Effects Interface
Before starting, familiarize yourself with the software interface:
- Project Panel: Where you import and organize files.
- Timeline: Where you work with layers and keyframes.
- Composition Panel: Displays a preview of your work.
- Tools Panel: Contains basic tools like Selection, Pen, and Text.
💡 Tip: Use the spacebar to play a preview of the animation.
2. Set Up Your Project
Creating a New Composition
- Go to Composition > New Composition.
- Set the following options:
- Size: 1920 x 1080 pixels (HD).
- Frame Rate: 30 fps (frames per second).
- Duration: 10 seconds.
💡 Tip: Name your composition for better organization of the project.
3. Add Elements to the Timeline
Importing Files
- Go to File > Import > File and select images, videos, or graphics.
- Drag the files to the Timeline.
Creating Elements in After Effects
- Use the Text Tool to add words or phrases.
- Use the Rectangle Tool to create basic shapes.
💡 Example: Create a colorful background by adding a solid layer (Layer > New > Solid).
4. Work with Keyframes
Keyframes are essential for creating animations in After Effects. They define changes over time.
How to Add Keyframes
- Select a layer in the Timeline.
- Expand the properties by clicking the arrow next to the layer name.
- Choose a property (e.g., Position, Opacity).
- Click the stopwatch icon next to the property to enable keyframes.
💡 Example:
- At second 0: Set the initial position of the object.
- At second 2: Move the object to a new position. After Effects will automatically create the animation between the points.
5. Add Effects and Adjustments
Visual Effects
- Go to Effects > Effects & Presets to add effects like shadows, glows, and blurs.
Curve Adjustments
- Use the Graph Editor to smooth movements and make them more natural.
💡 Tip: For smooth deceleration or acceleration, use the Easy Ease function (shortcut: F9).
6. Work with Masks and Transparency
Masks allow you to create reveals or cuts in elements:
- Select a layer.
- Use the Pen Tool to draw a mask.
- Adjust the Opacity and Blur settings in the Mask panel.
💡 Example: Make text gradually appear using an animated mask.
7. Add Music or Audio
- Go to File > Import and select an audio file.
- Drag the audio to the Timeline.
- Adjust the volume and sync it with the animation.
💡 Tip: Use the LL shortcut to view the audio waveform and sync the elements.
8. Preview and Final Adjustments
- Use the spacebar to play the animation in the Composition panel.
- Check transitions, smoothness, and synchronization.
- Adjust keyframes or effects as needed.
9. Export Your Animation
- Go to File > Export > Render Settings.
- Choose the output format:
- MP4: Ideal for social media and online sharing.
- MOV: High quality for future edits.
- Click Add to Render Queue and adjust settings.
💡 Tip: Use Adobe Media Encoder for a more efficient export process.
Practical Exercise: Text Animation
Goal: Create an animation where text slides and disappears.
- Create text using the Text Tool.
- Enable keyframes for Position.
- Set the text’s movement from the left to the center.
- Add keyframes for Opacity and gradually reduce the opacity to 0.
💡 Result: The text slides smoothly and disappears.
Tools and Resources to Learn More
- YouTube Tutorials: Channels like ECAbrams and Motion Design School offer detailed tutorials.
- Free Templates: Websites like Motion Array offer ready-made projects for study.
- Adobe Learn: Official resources to explore advanced features.
Conclusion: Experiment and Master After Effects
Creating basic animations in Adobe After Effects is an essential skill for any designer who wants to expand their creative toolbox. With practice and curiosity, you can turn simple ideas into impressive visuals. Don’t be afraid to experiment and explore new possibilities!

