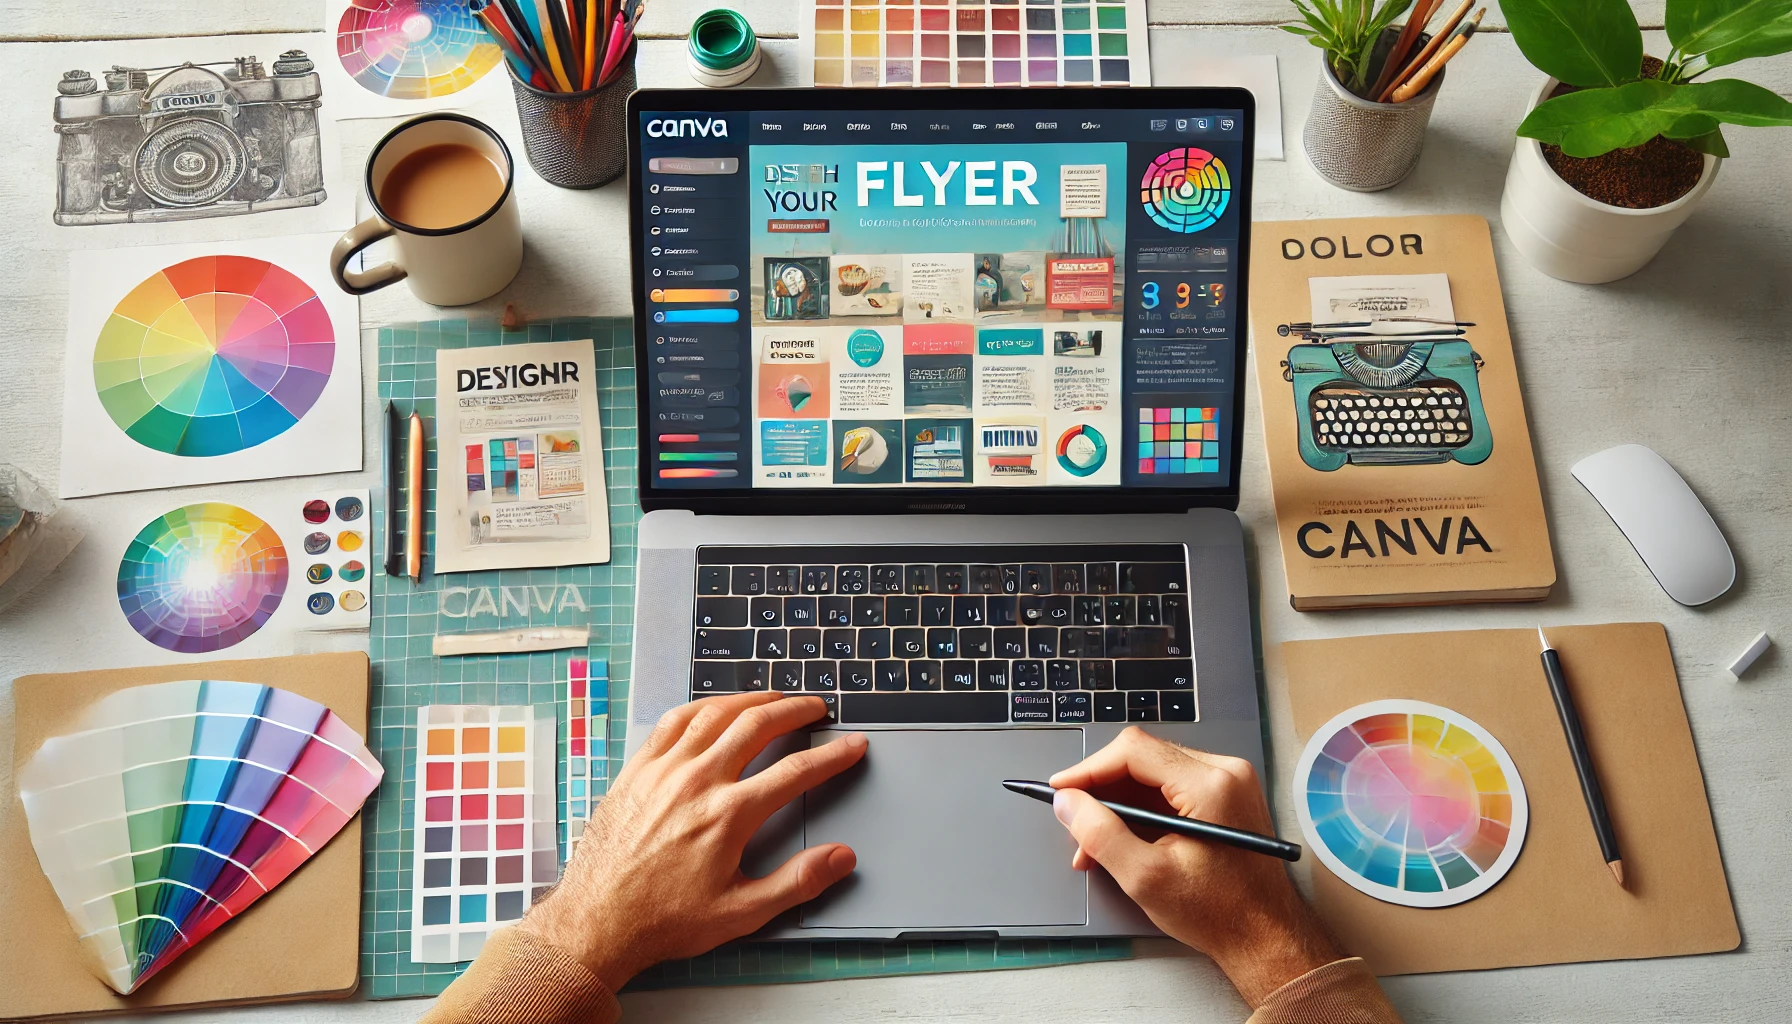
Flyers are a versatile and powerful tool for promoting events, services, or products. Even with a limited budget, it’s possible to create eye-catching and effective flyers using free online tools. All you need is creativity and the right tools to turn your ideas into impactful designs.
In this article, I’ll show you how to create attractive flyers using free tools, from conception to finalization.
1. Define the Flyer’s Objective
Before you start designing, understand the flyer’s purpose:
- What is the main message? Example: “Special Promotion” or “Event Invitation.”
- Who is the target audience? Young people, families, professionals?
- Where will it be distributed? Print or social media? 💡 Tip: Focus on a clear, direct message.
2. Choose a Free Tool
There are many free tools that simplify the design process. Here are the best ones:
- Canva
Features: Ready-made templates, drag-and-drop functionality, a vast library of visual elements.
Best for: Those looking for convenience and speed. - Crello (VistaCreate)
Features: Similar to Canva, with unique templates and intuitive tools.
Best for: Custom designs made easily. - Adobe Express (Formerly Adobe Spark)
Features: Sleek templates, automatic size adjustments, integration with Creative Cloud.
Best for: Designers looking for something more sophisticated. - Desygner
Features: Free image library, modern templates, collaborative editing.
Best for: Creating flyers for social media.
3. Choose a Template or Start from Scratch
If you’re short on time, use pre-made templates available in the tools mentioned.
- Pre-made templates: Easy to customize.
- Starting from scratch: Offers more creative freedom.
💡 Tip: Make sure the template you choose aligns with the flyer’s goal.
4. Define the Composition and Layout
Basic Elements of a Flyer:
- Headline: A catchy phrase or title.
Example: “Big Sale!” or “Birthday Party.” - Body Text: Main information (date, location, details).
- Image or Graphic: Visual elements that reinforce the message.
- Call to Action (CTA): Example: “Reserve your spot!” or “Learn more on the website.” 💡 Tip: Use different fonts for titles, subtitles, and body text, but maintain harmony.
5. Choose Attractive Colors and Fonts
- Colors
- Bold colors: Ideal for events or promotions.
- Neutral colors: Perfect for elegant or professional themes.
💡 Useful Tools: Use Adobe Color or Coolors to create harmonious color schemes.
- Fonts
- Sans-Serif: Modern and clean (e.g., Montserrat, Open Sans).
- Serif: Elegant and traditional (e.g., Playfair Display, Georgia).
- Script: Creative and casual (e.g., Pacifico, Dancing Script).
💡 Tip: Avoid using more than two or three fonts in the same flyer.
6. Add Images or Icons
High-quality images make the flyer more appealing.
Free image sources:
- Unsplash
- Pexels
- Freepik
💡 Tip: Use icons from Flaticon to complement the design.
7. Work with Negative Space
Negative space is the “empty” area around the elements.
It helps highlight the main message. Avoid overcrowding the flyer with too much text or imagery.
💡 Example: A minimalist flyer with a large image and a prominent title can be more effective.
8. Test Different Versions
Create a few variations to compare which one works best.
- Test with friends or colleagues: Ask for feedback on readability and visual impact.
- Make adjustments as needed: Experiment with colors, fonts, and sizes.
9. Prepare for Print or Digital Publication
- Print format: Use high-quality PDF or PNG files.
- Social media format: Export in optimized sizes (e.g., 1080 x 1080 pixels for Instagram).
💡 Tip: Always save an editable copy for future adjustments.
10. Example of an Attractive Flyer
- Headline: “Black Friday: Up to 70% OFF!”
- Body: “Enjoy the offers at our store from November 25 to 27.”
- Image: High-quality products on sale.
- Call to Action: “Shop now at button”
Conclusion: Flyers that Make an Impact
With these tips and tools, you can create professional and attractive flyers without spending anything. Be creative, try different combinations of elements, and remember: simplicity is often more effective.

